
Dreaming of a stunning website but the coding barrier holding you back? Fear not, coding-free friends! You can build your dream website without touching a single line of code thanks to the magic of WordPress and XAMPP.
In this SEO-optimized guide, we’ll walk you through the step-by-step process of installing WordPress on your local machine using XAMPP, your gateway to website development without the coding headaches. So, grab your coffee (or coding fuel of choice), and let’s dive in!
Table of Contents
1. What is XAMPP?
Think of XAMPP as your all-in-one toolkit for building websites locally (on your own computer). It bundles essential components like Apache web server, MySQL database, PHP scripting language, and more, providing the perfect environment to test and develop your WordPress website before you launch it to the world.
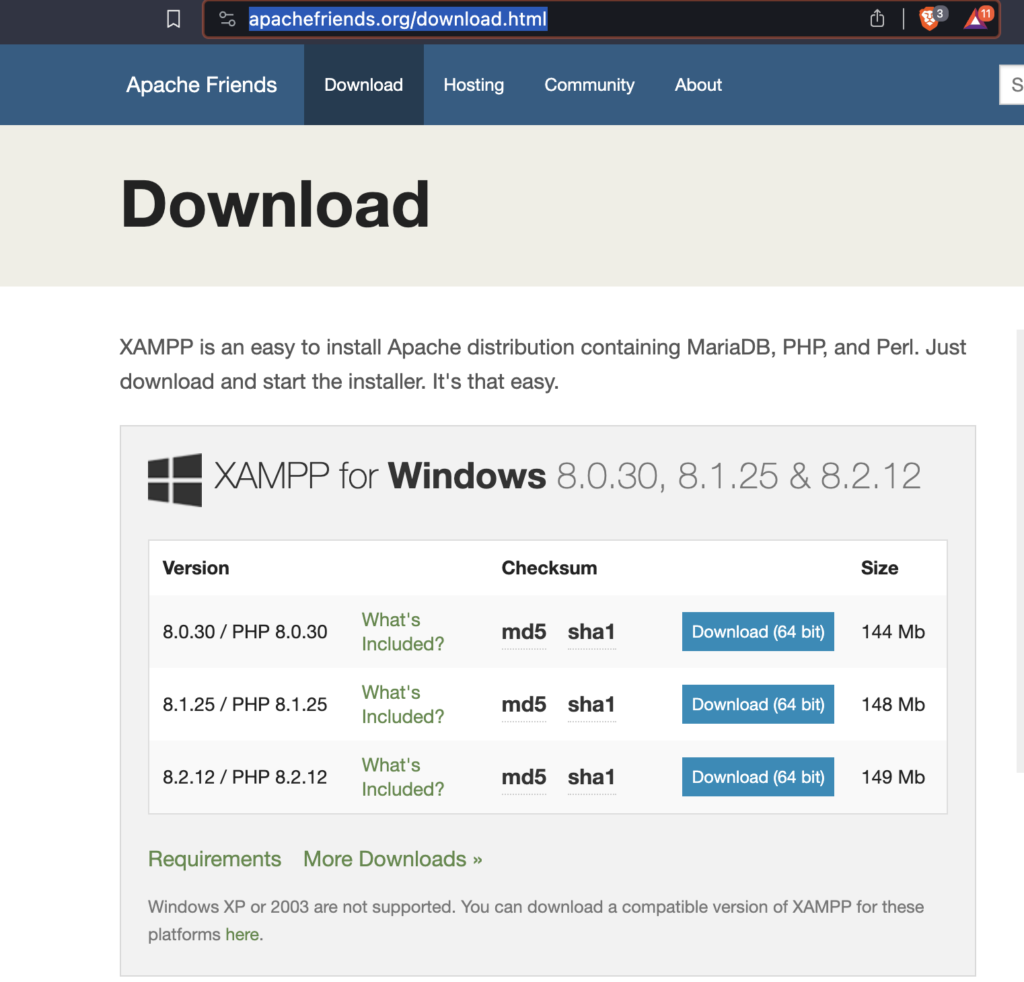
2. Download and Install XAMPP
Head over to the official Website ?( Click Here ) https://wordpress.org/download/ website and choose the appropriate version for your operating system. Download the installer, run it, and follow the on-screen instructions. Remember, during installation, uncheck unnecessary components like FileZilla to save disk space.
3. Create a Database for Your Website
- Open the Control Panel. If you don’t have a Desktop or Quick Launch icon, go to Start > All Programs > XAMP > XAMP Control Panel.
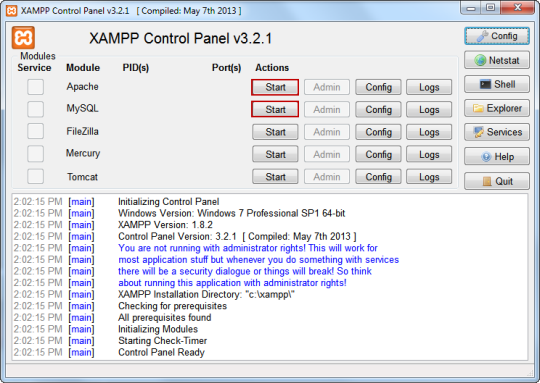
- Click Start button next to Apache. Note: Do NOT mark the Service check boxes on the far left. Running these modules as a service can cause conflicts with other applications or servers that use one or more of the same ports. Manually starting and stopping services is generally better when you don’t need to run the Apache and MySQL components most of the time.
- The first time you start Apache or MySQL, Windows security will alert you to Allow Access (Unblock) the servers on your local network.
- In a few moments, you should see PID/Port information next to the module that’s now running, and the Action button will now be labeled as Stop button. (Start/Stop is a toggle)
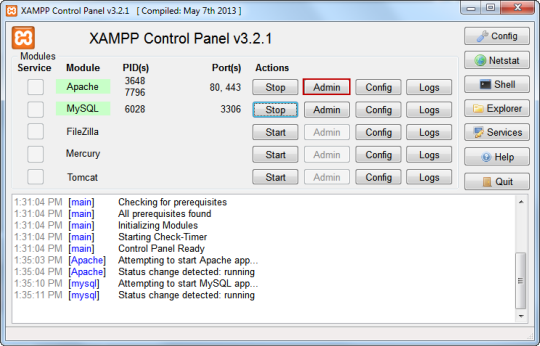
- If you will be working with a database, be sure to start MySQL also.
- Click red Close button in upper right. XAMP will still be running in the background and can be accessed in the Notification area.
- To open XAMP Control Panel when running in background, click Notification icon and double-click icon.
Note: In this version of the Control Panel, you can now right-click the XAMP icon in Notification area and start/stop components.
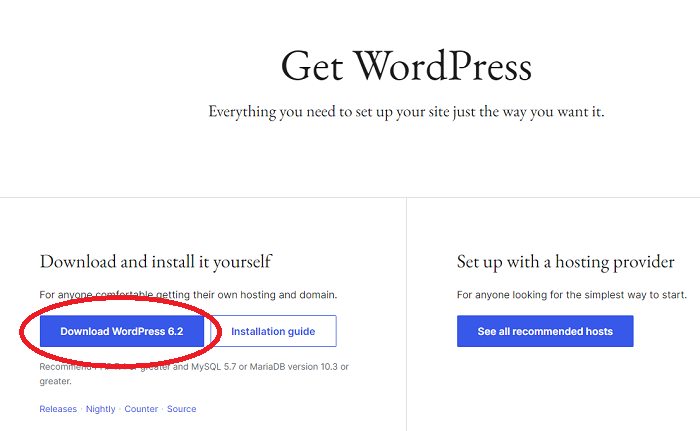
4. Download and Extract WordPress Files
Visit the official WordPress website and download the latest version. Extract the downloaded file to a folder within your XAMP “htdocs” directory (e.g., “mywebsite”).
- Move the downloaded zip file to the /htdocs folder in the XAMP directory.
- Unzip the file and navigate to the project directory.
- Ensure Apache and MySQL services in the XAMP control panel are running.
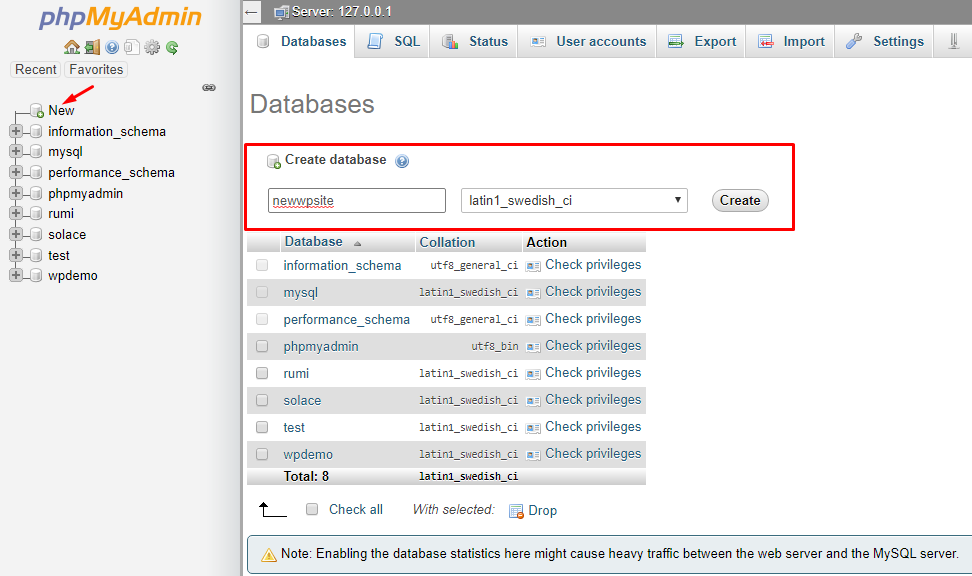
- Visit the phpMyAdmin portal to create the database for your new WP site.
The portal can usually be found at http://localhost/phpmyadmin, depending on your port configuration. For example: http://localhost:80/phpmyadmin/.
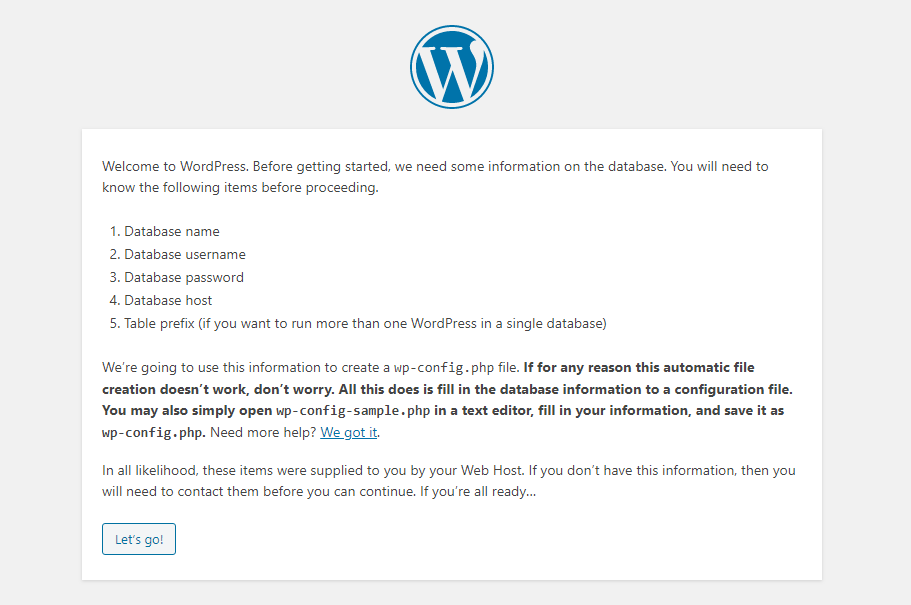
5. Configure WordPress with Your Database
- Launch the WP installation setup once the database is created by visiting http://localhost/newwpsite/wp-admin/setup-config.php.
- Select the desired language and click Continue.
Note: Make sure to replace “newwpsite” with the name of your project directory and adjust the port number if necessary.
6. Run the WordPress Installation

- On the next screen, follow the steps to add database credentials to the wp-config.php file.
- Open the wp-config.php file within your preferred code editor and define database credentials as follows:
- // ** MySQL settings - You can get this info from your web host ** ///** The name of the database for WP */define( 'DB_NAME', 'newwpsite' );
- /** MySQL database username */define( 'DB_USER', 'root' );
- /** MySQL database password */define( 'DB_PASSWORD', '' );
- Save the file and go back to the WP installation wizard.
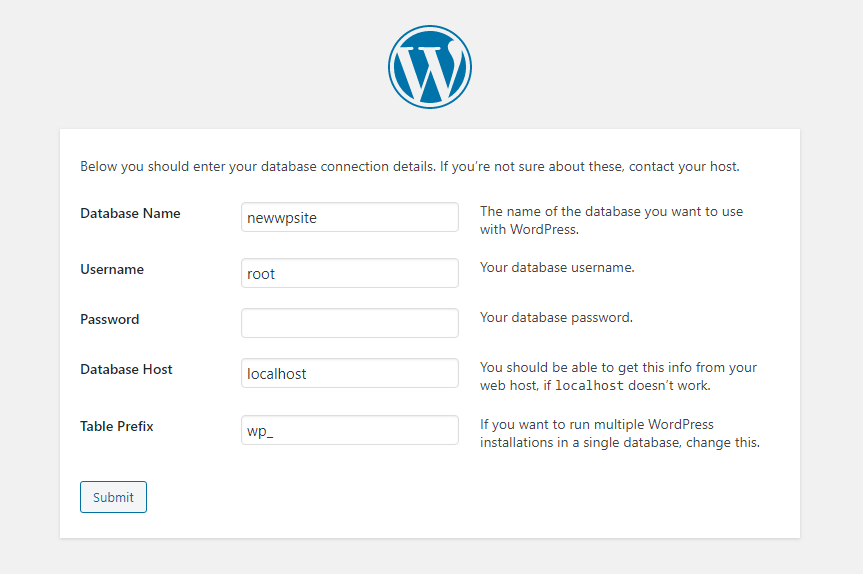
- Enter the database name, username, and password. You may also define your table prefix, but keeping the default value is recommended.
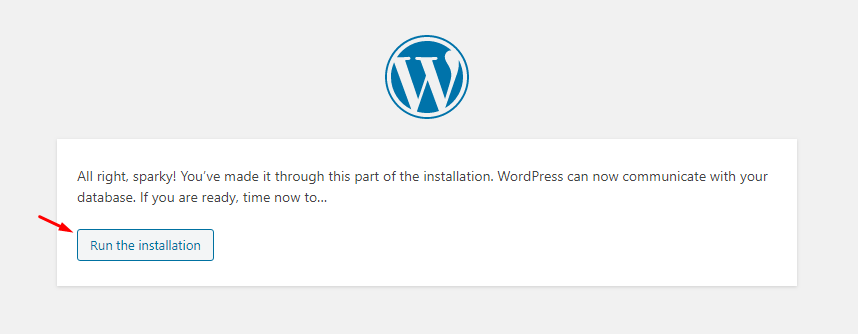
- Click Submit. The next screen will confirm the successful database configuration.
- Click Run the installation to begin the WP installation process.
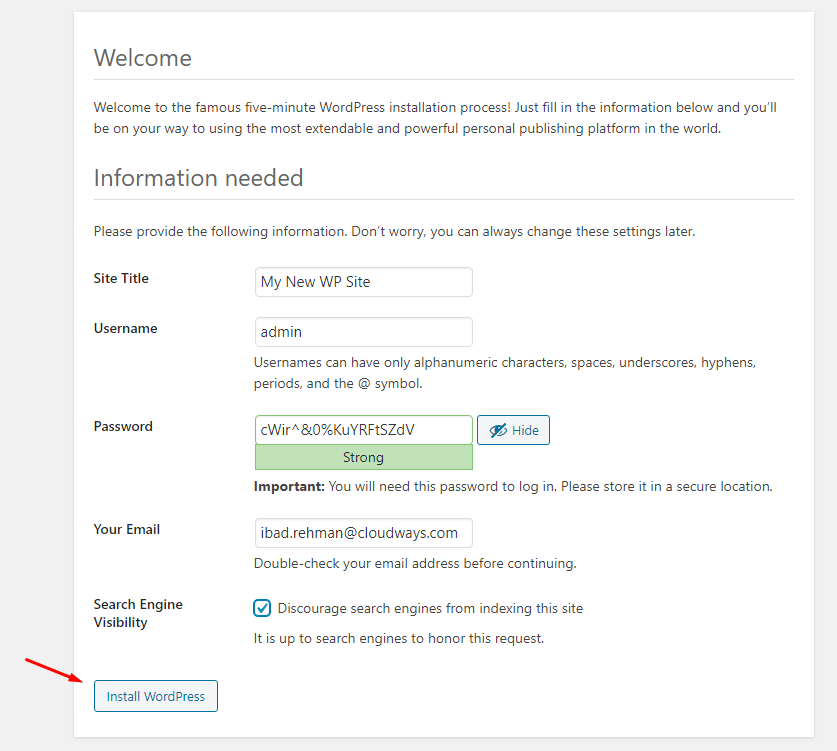
- In the next screen, provide information about your website and set the username and password to access the WP dashboard.
- Once done, click the Install WP button.
- This will show a success message and a button to launch the WP dashboard login page.
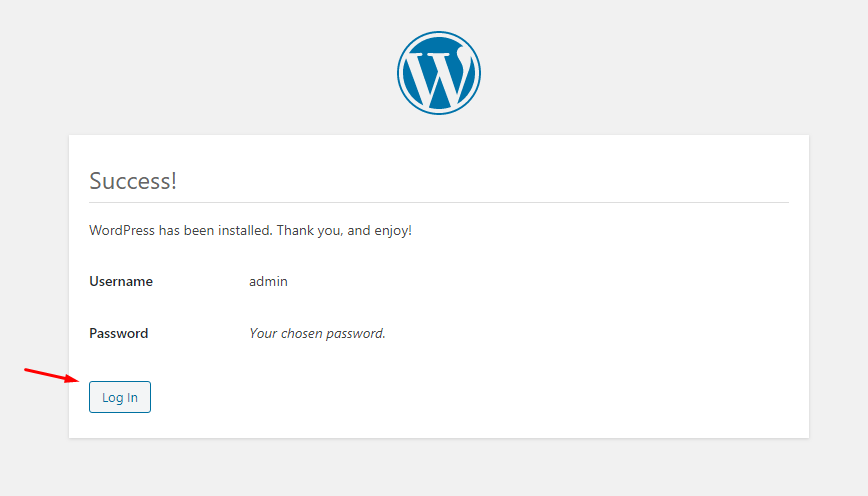
That’s all you need to do to install WP locally on your Windows machine.